Sparkling, brilliant jewelry is a joy to wear and admire. However, over time, pieces can become dull and grimy from daily wear, making them look lifeless. The good news is that you can easily revive your jewelry’s radiance using simple household items.
In this comprehensive guide, we’ll cover how to clean every type of jewelry, from diamonds and gemstones to gold, silver, pearls, and costume pieces. Let’s dive in and learn how to make your treasured accessories dazzle again!
Why You Need to Clean Your Jewelry Regularly
Jewelry gets exposed to a lot throughout the day – body oils, makeup, hairspray, lotions, cooking grease, and more.
This buildup can quickly cloud the brilliance of diamonds and gemstones while also dulling the shine of metals like gold and silver. Regular cleaning is essential to:
- Remove dulling buildup: Makeup, skin oils, and product residue collect on jewelry, diminishing its sparkle.
- Prevent permanent damage: Buildup allowed to accumulate can eventually corrode or discolor certain metals and gemstones.
- Extend the life of your pieces: With proper cleaning, your jewelry will stay gorgeous for years to come.
Most experts recommend cleaning jewelry at least once a month, more frequently for pieces worn daily like rings and bracelets.
Jewelry Cleaning Supplies You Already Have at Home
You don’t need fancy jewelry cleaners – just grab a few basic household items:
- Mild dish soap: Look for a basic formula without harsh additives that could damage jewelry.
- Bowls of water: You’ll need one for soaking and one for rinsing.
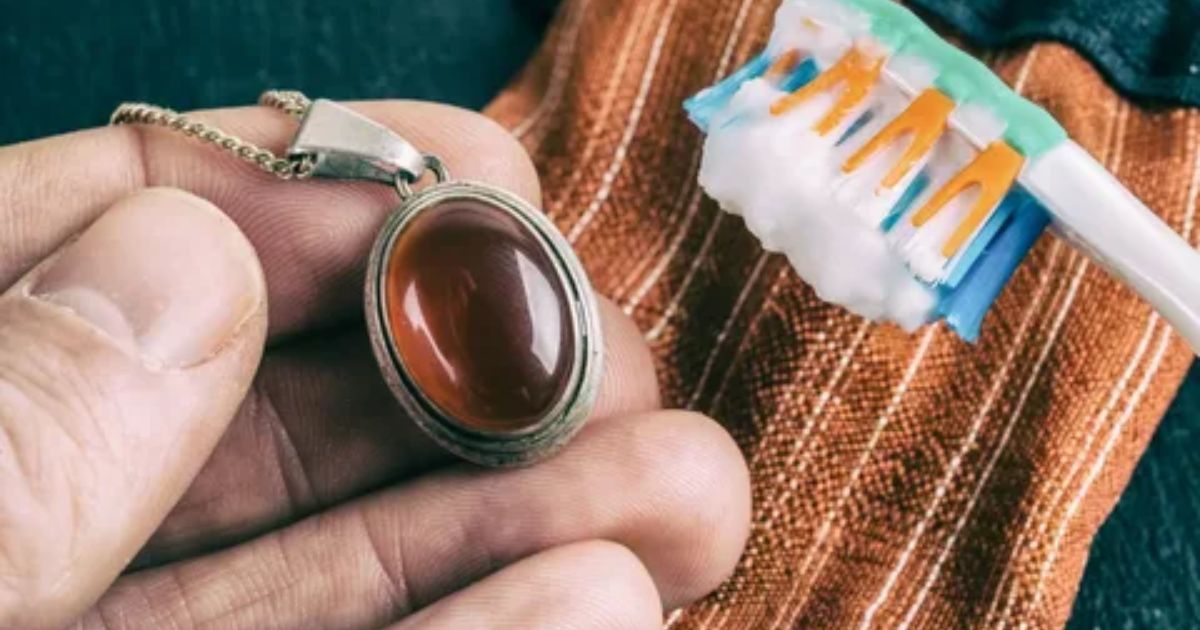
- Soft bristle toothbrush: An unused, soft toothbrush is perfect for gently scrubbing.
- Baking soda: This mild abrasive is safe for cleaning most metals.
- Aluminum foil: Aluminum helps remove tarnish from silver.
- Microfiber cloths: Soft, lint-free cloths for drying jewelry without scratching.
With these simple supplies on hand, you’re ready to get started cleaning all your jewelry pieces properly.
How to Clean Diamond Jewelry
Nothing beats the brilliance of a dazzling diamond – unless that stone is covered in grime, makeup, hair products, or other buildup.
While diamonds are extremely durable, their settings can be delicate, so they require a gentle cleaning method. This is the process I use on my diamond pieces:
- Dawn dish soap
- Bowl of water
- Soft baby toothbrush
- Microfiber cloth
Step 1: Soak the jewelry
Add about 1 teaspoon of dish soap to a bowl of warm water and mix to create some sudsy solution. Place your diamond jewelry into the bowl and allow it to soak for 30 minutes. The dish soap helps break down oils and loosen grime.
Step 2: Gently brush all surfaces
Using the soft toothbrush, gently scrub all surfaces of the jewelry, taking care around any intricate metalwork or gem settings. Brush at all angles to dislodge any buildup tucked into crevices.
“Our #1 tip to bridal clients is to clean their engagement rings with a baby toothbrush. It’s small with super soft bristles that can access all those tiny spaces.” – Jared Brown, Jewelry Designer
Read this Post: Permanent Jewelry
Step 3: Rinse thoroughly
Remove the jewelry and rinse thoroughly under running lukewarm water to wash away any remaining soap residue.
Step 4: Dry and inspect
Gently blot the jewelry dry with the microfiber cloth. Once dry, examine it closely in good lighting to ensure no missed gunk in any nooks or crannies. Repeat brushing on any remaining dirty areas.
When cleaning rings, hold them securely between your thumb and finger while brushing to avoid dropping them. For bracelets or necklaces, work over a bowl or plate to catch any pieces that may come loose.
With this simple dish soap soak and brush method, your diamond jewelry will be restored to its brilliant, sparkling glory. Repeat weekly for rings and other frequently worn pieces.
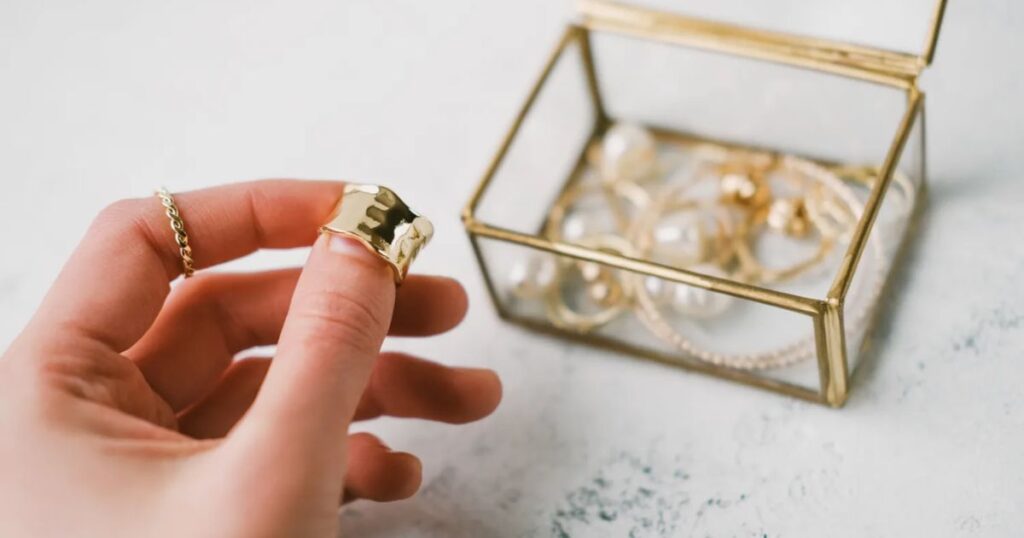
Best Way to Clean Gold Jewelry
While pure 24k gold is extremely soft, lower karat gold alloys like 14k and 18k are mixed with other durable metals like silver, copper or nickel.
These alloys require a bit more care when cleaning to prevent damaging the different metal components. Here is my recommended cleaning process for gold pieces:
- Dawn dish soap
- Small bowl of lukewarm water
- Soft baby toothbrush
- Microfiber cloth
Step 1: Create a sudsy solution Add about 1 tsp of dish soap to the bowl of lukewarm water and mix gently to create some soap suds.
Step 2: Soak briefly
Place your gold jewelry into the sudsy solution for a maximum 2-3 minutes to allow the soap to begin breaking down oils and debris. Do not leave for an extended soak.
Step 3: Gently scrub Use the soft toothbrush to carefully scrub all surfaces of the jewelry. Pay close attention to engravings, embellishments, and jewel settings where grime can accumulate. Scrub gently to avoid scratching or loosening any stones.
Step 4: Rinse and dry Remove the piece from the soapy water and rinse thoroughly under warm running water. Use a clean microfiber cloth to gently blot it completely dry, getting into all crevices.
Lower karat gold alloys can be prone to scratches, so always use a gentle touch when cleaning. Avoid using any abrasive cloths or pads. For encrusted pieces, bring them to a professional jeweler for cleaning.
With some simple dish soap and a soft toothbrush, your gold jewelry pieces will be gleaming again! Just be sure to take care with delicate settings and embellishments.
Cleaning Pearls the Right Way
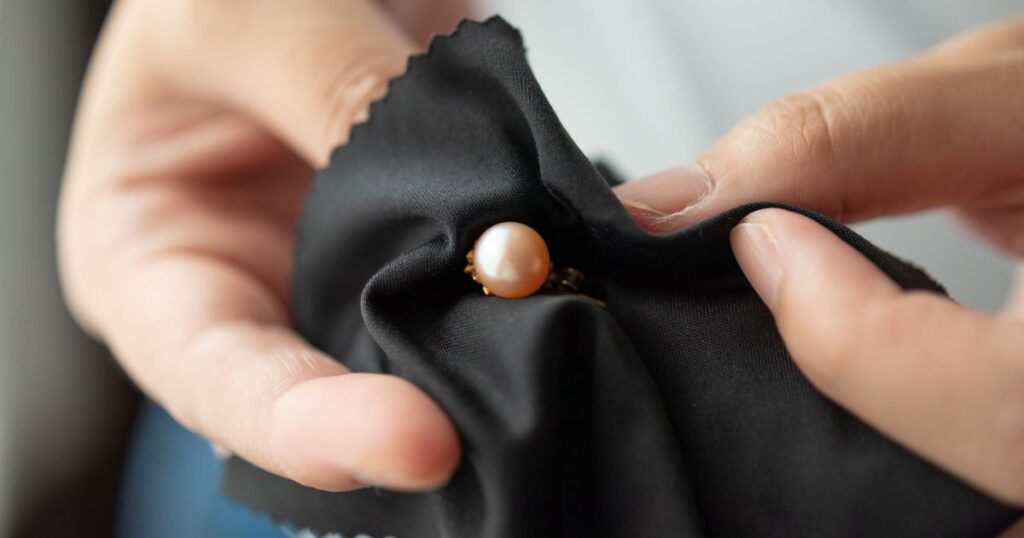
As an organic gemstone, pearls are exceptionally soft and delicate compared to diamonds and other stones. They can easily be scratched or damaged by harsh cleaners, chemicals, or rough handling. Here is the best way to gently clean pearl jewelry:
- Mild dish soap
- Lukewarm water
- Two clean microfiber cloths
Step 1: Make a mild cleaning solution
Mix about 1/2 teaspoon of mild dish soap into 1 cup of lukewarm water until slightly sudsy.
Step 2: Gently wipe each pearl Dip one of the microfiber cloths into the diluted soap solution. Gently wipe and roll each individual pearl, inspecting the string or metal for any areas that need repair.
Step 3: Rinse and dry completely
Use the second clean, damp cloth to gently wipe away any remaining soap residue. Lay the pearls out flat on an absorbent cloth to thoroughly air dry before storing.
“Pearls can easily be dried out by heat, chemicals or even perspiration which can cause discoloration and damage to their nacre coating.” – Gemological Institute of America
If your pearls have yellowed over time, you can try wiping them down with a microfiber cloth dampened with a small amount of nail polish remover containing acetone. This can help whiten them again.
With their soft, porous nature, pearls require exceptionally gentle handling and cleaning. But this easy dish soap and water method will keep them lustrous!
How to Remove Tarnish from Silver Jewelry
One of the challenges of silver is that it quickly tarnishes and loses its bright, shiny luster when exposed to air and body oils. While there are commercial silver polishes, this simple, cost-effective method uses items you already have at home:
- Aluminum foil
- Baking soda
- Heat-proof bowl
- Boiling water
- Coated tongs
- Microfiber polishing cloth
Step 1: Prepare the solution Line a heat-proof bowl with a sheet of aluminum foil, shiny side up. Place your tarnished silver jewelry pieces directly on top of the foil in a single layer. Sprinkle about 2 tablespoons of baking soda over the silver.
Step 2: Pour on boiling water Carefully pour about 2 cups of boiling water directly into the bowl over the silver and baking soda. The combination will create a fizzing chemical reaction that transfers tarnish over to the foil.
Step 3: Soak briefly Allow the silver pieces to soak in the baking soda and aluminum foil solution for 2-3 minutes. You should see the tarnish visibly transferring over to the foil – it’s amazing to watch!
Step 4: Remove and rinse Using tongs with a rubber or plastic coating, carefully remove the de-tarnished silver from the solution and place it on a clean microfiber cloth. Rinse the pieces thoroughly under warm water to wash away any baking soda residue.
Step 5: Dry and polish Use the microfiber cloth to gently buff and polish the silver as you dry it completely. The cloth will help bring out the bright, mirror-like shine.
To prevent future tarnish, store your clean silver jewelry pieces in zip-top anti-tarnish bags or a anti-tarnish jewelry box. Keeping it away from air exposure drastically slows down the tarnishing process.
This chemistry-based cleaning method is so satisfying to use on tarnished silver pieces – the results are outstanding! Just be sure to work carefully with the hot water.
Cleaning Tips for Costume Jewelry
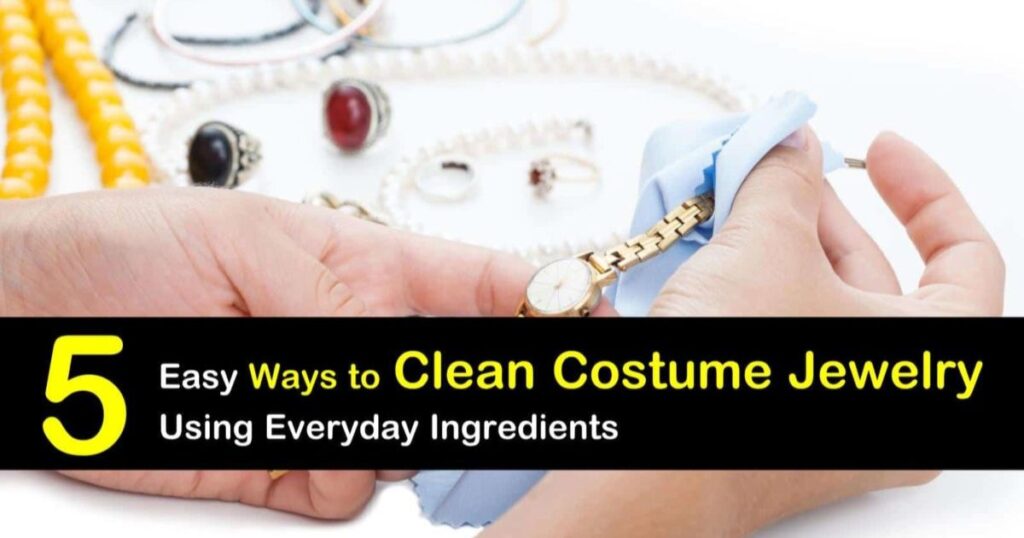
From chunky beaded necklaces to bejeweled statement earrings, costume jewelry is a fun, affordable way to accessorize. However, these pieces require a bit more delicate care as they are often made with coated or plated metals that can chip or discolor if cleaned improperly. Follow these tips:
- Mild dish soap
- Lukewarm water
- Soft baby toothbrush
- Microfiber cloth
- Hair dryer (optional)
Step 1: Create a light soap solution Mix about 1 teaspoon of mild dish soap into a small bowl of lukewarm water until slightly sudsy. Avoid soaking these pieces.
Step 2: Gently scrub with the toothbrush Dip the soft toothbrush into the soapy solution and gently scrub all surfaces of the jewelry piece to dislodge any makeup, dirt, oils etc. Take care on any coated areas.
Step 3: Rinse quickly and dry thoroughly Rinse the piece briefly under running lukewarm water, then immediately lay it on a microfiber cloth to dry. For pieces with moisture traps, use a cool air setting on a hairdryer to ensure it is 100% dry before storing.
“With costume jewelry, you have to be very careful about water exposure as it can cause plating to chip or discolor easily. Quick rinses and thorough drying is key.” – Jared Brown, Jewelry Designer
- Remove costume jewelry before showering, exercising, swimming etc.
- Wipe pieces down with a microfiber cloth after each wear to prevent buildup.
- Store costume pieces individually in an anti-tarnish bag or fabric-lined box.
While costume jewelry is inexpensive, taking these precautions to clean it gently and reduce moisture exposure will keep your fun pieces looking their best for years!
Jewelry Cleaning FAQ
How often should I clean my jewelry?
There’s no one-size-fits-all answer, but in general:
- Rings/bracelets worn daily: Clean weekly
- Earrings worn frequently: Clean 1-2 times per month
- Necklaces: Clean monthly or when visibly dull
The more frequent the wear, the more cleaning is needed. Don’t wait until jewelry looks extremely dirty. Wipe down rings and bracelets with a microfiber cloth after each wear.
What substances should I avoid for cleaning?
Never use any household cleaners containing bleach, ammonia or abrasives on fine jewelry. Avoid toothpaste, baking soda (except for the aluminum foil trick on silver), and any cleaners with unknown harsh chemicals.
Is it safe to clean jewelry with rubbing alcohol?
According to jewelry experts, rubbing alcohol is safe for cleaning the metal portions of diamond and gold jewelry. However, rubbing alcohol should not be used on gemstones, pearls, opals, orpearl/opal strings as it can cause damage or drying. Use alcohol wipes only on sturdy metal findings and posts.
Can I clean jewelry with vinegar?
While some recommend vinegar to clean jewelry due to its acidity, it’s generally not recommended. The acid content in vinegar can easily damage softer or porous gemstones as well as erode the finish on costume jewelry over time.
Can I shower/swim with my jewelry on?
It’s best to remove jewelry before swimming or bathing. Things like soap, shampoo, hair products, sunscreen etc. can leave a filmy residue on jewelry. The exception is high quality diamond or gold pieces which can typically withstand the water exposure from showering if given a quick wipe down after.
Following these tips and using the proper techniques for each jewelry type will keep all your pieces brilliant, radiant, and sparkling like new! Let me know if you have any other jewelry cleaning questions.